 The long-awaited moment of final assembly has arrived!
Le moment tant attendu de l’assemblage final est arrivé!
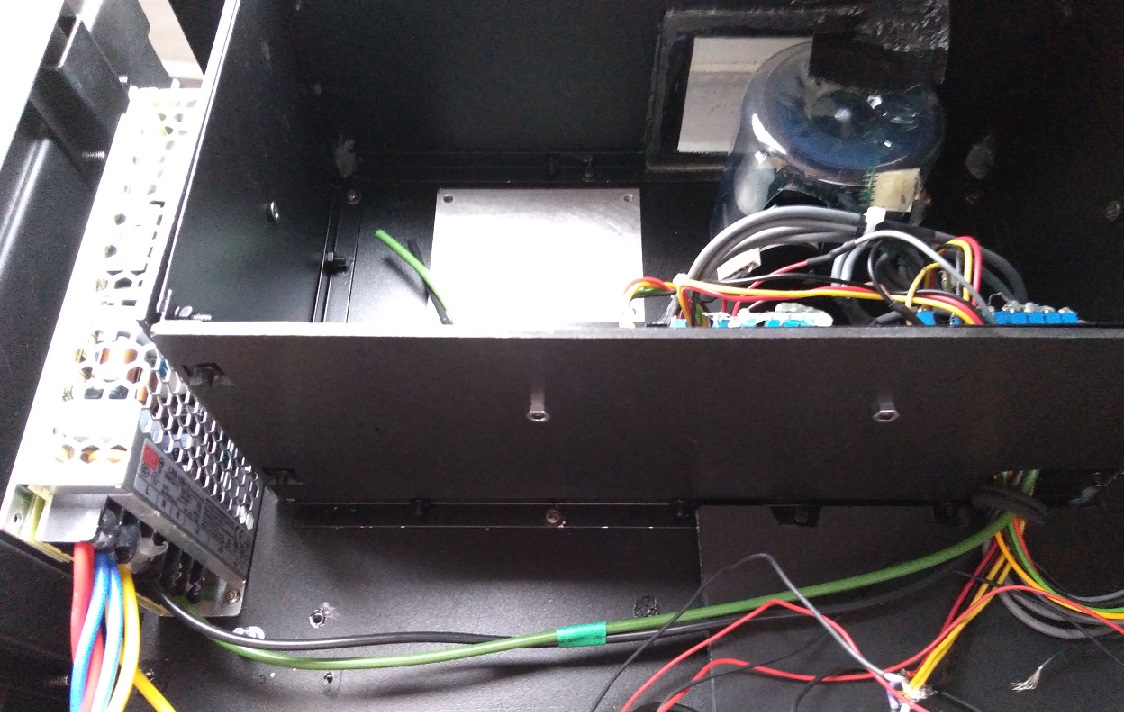
I start by installing the 12V power supply
Je commence par installer l’alimentation 12V
 Regarding the 5V power supply the voltage needs to be increased
En ce qui concerne l’alimentation 5V la tension doit être augmentée
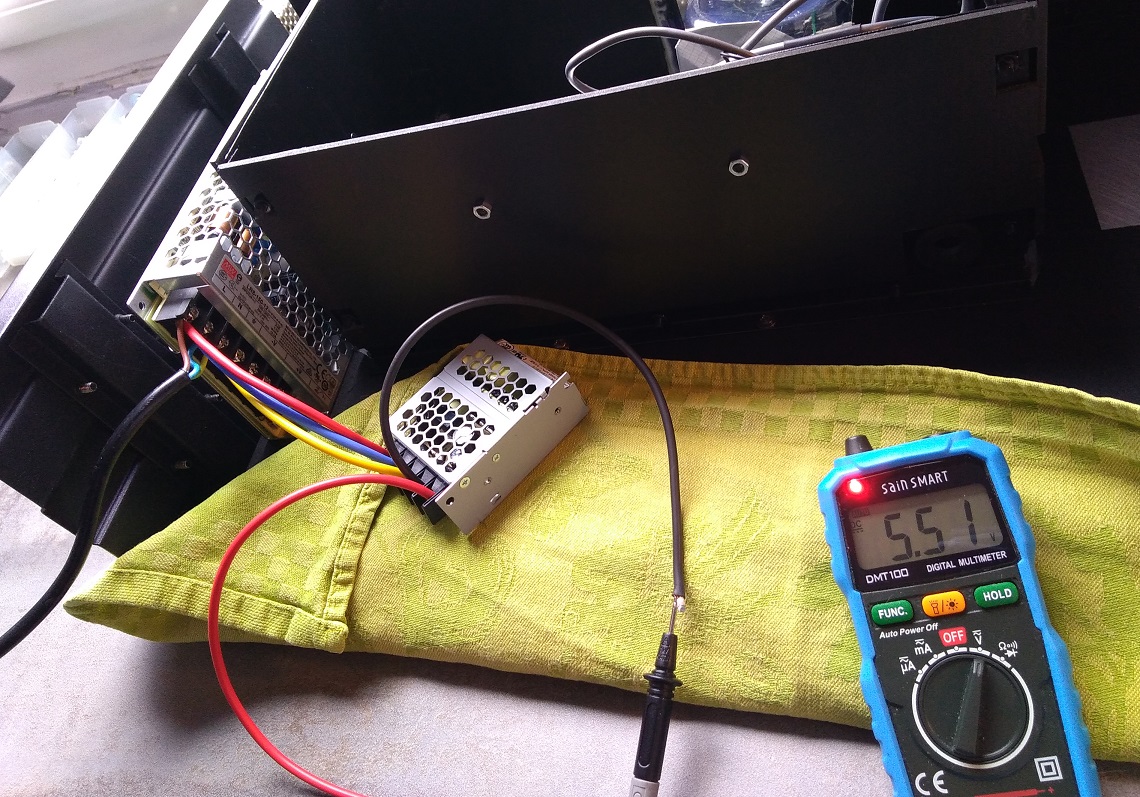 With a voltage of 5.5V it works well
Avec une tension de 5.5V cela convient bien
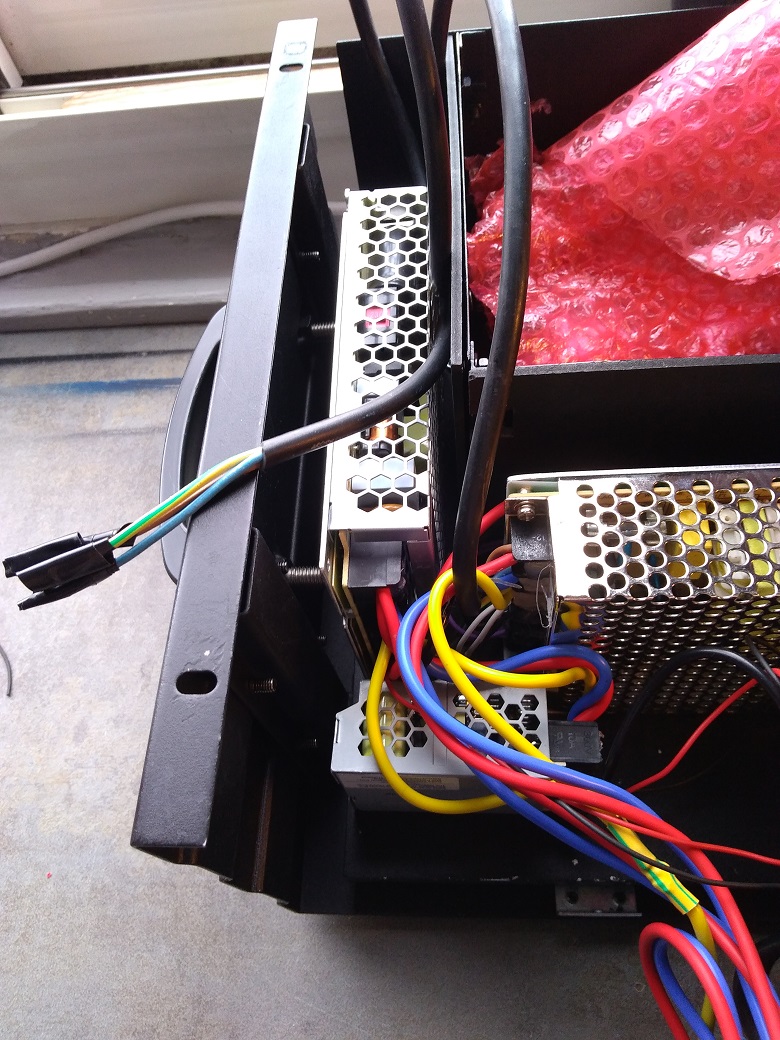 Then I do the wiring for the +/- 24V PSU and a mains cable for the extractor
Ensuite je câble l’alimentation +/- 24V et un câble secteur pour l’extracteur
 Setting up the laser diode driver with thermal conduction grease
Mise en place du driver de diode laser avec de la graisse de conduction thermique
 For the laser diode I use the thermal conductor
Pour la diode laser j’utilise le conducteur thermique
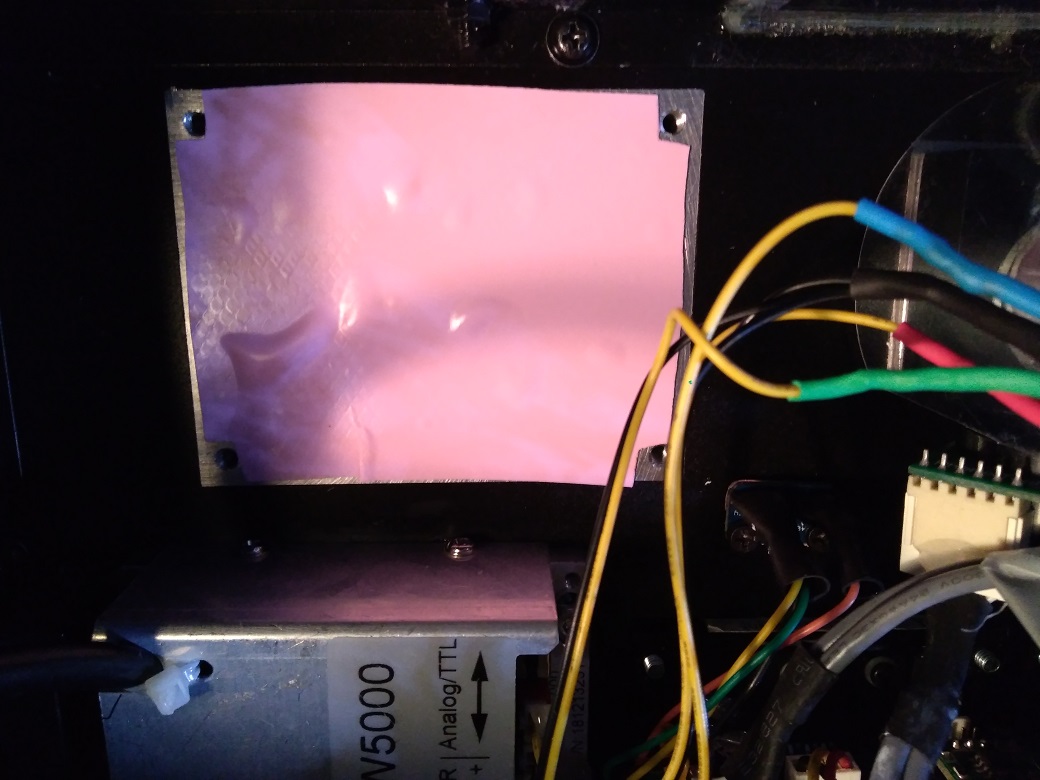
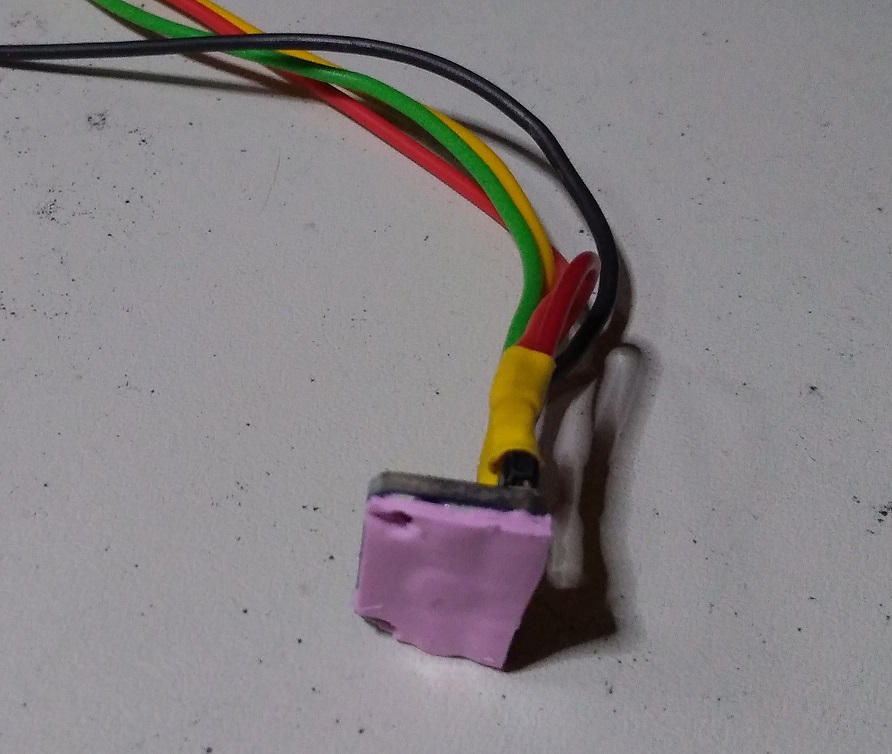 Double layer of thermal conductor for the temperature sensor
Double couche de conducteur thermique pour le capteur de température
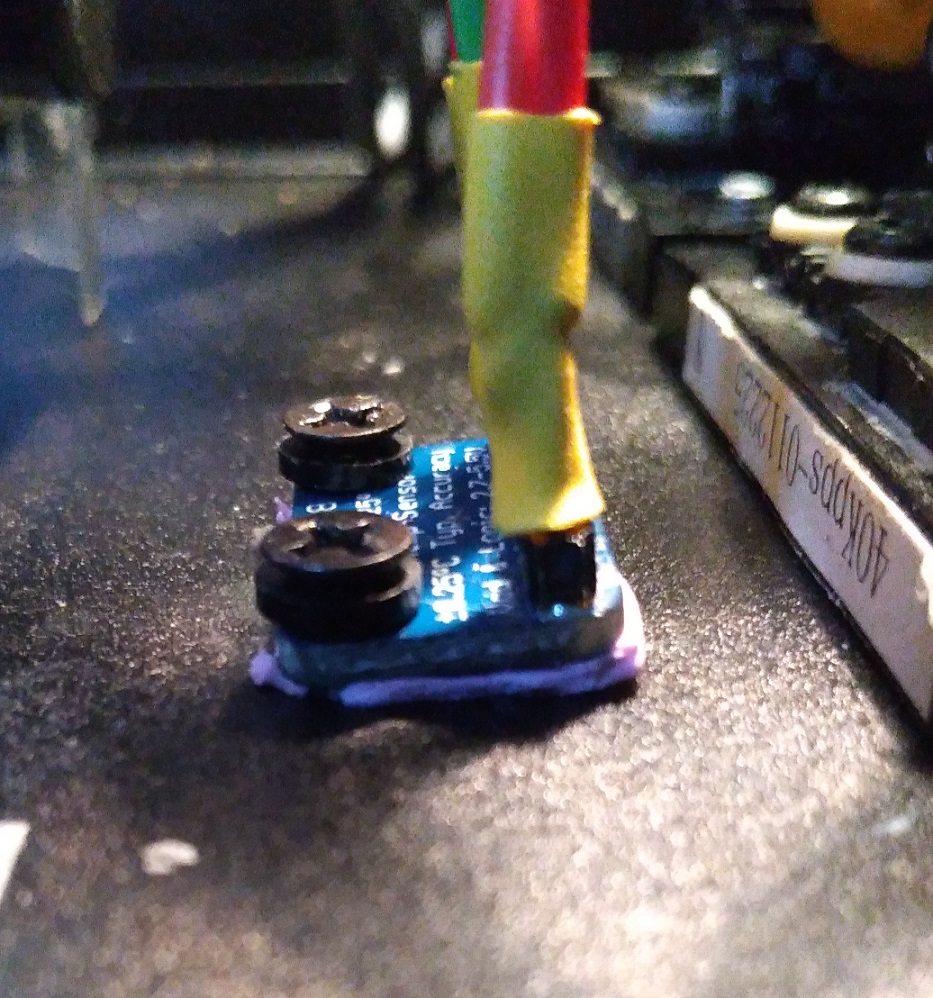 Setting up the sensor with threadlock on the screws
Mise en place du capteur avec du frein filet sur les vis
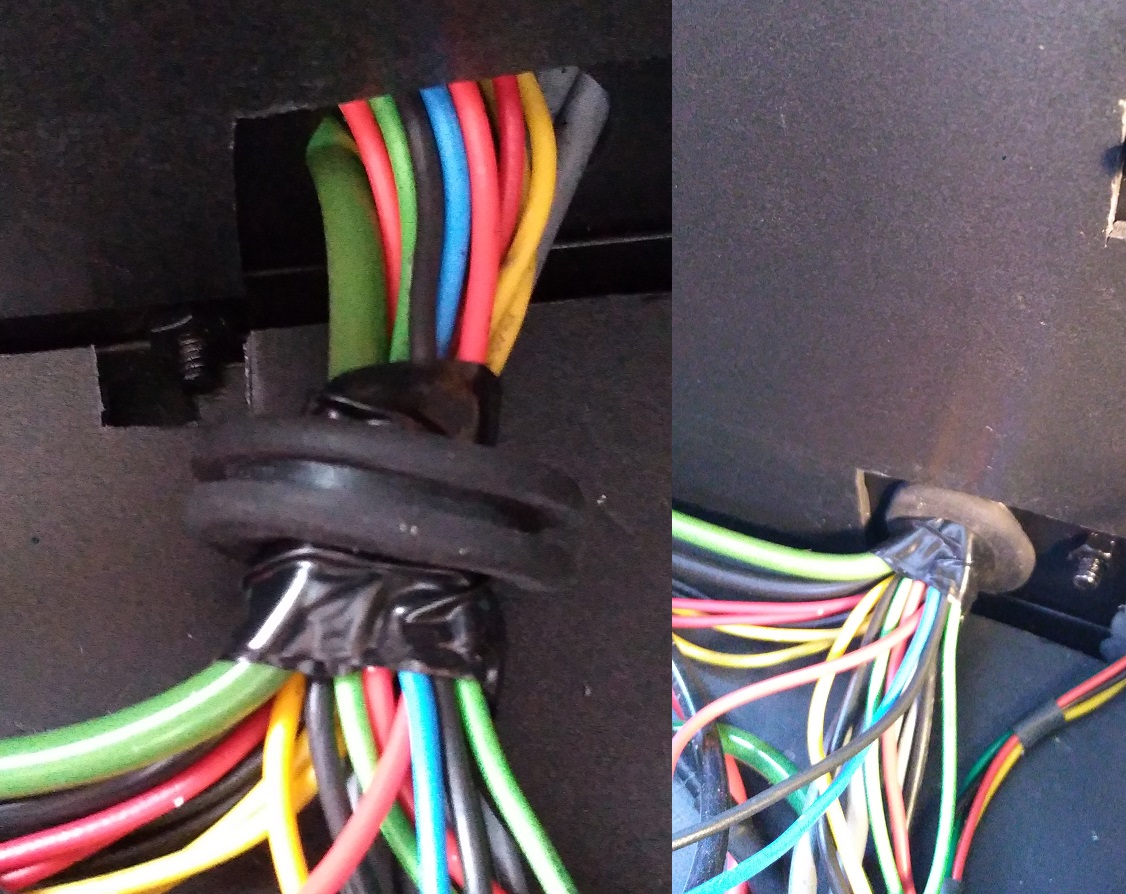 I use a cable pass to maintain the insulation
J’utilise un passe câble pour maintenir l’isolation
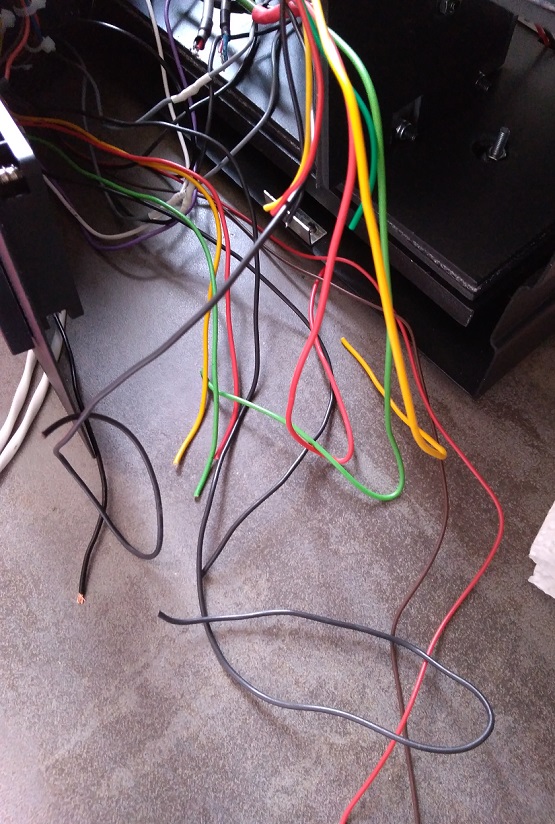 It’s time to check that the grounds are well wired
C’est le moment de vérifier que les masses sont bien câblée
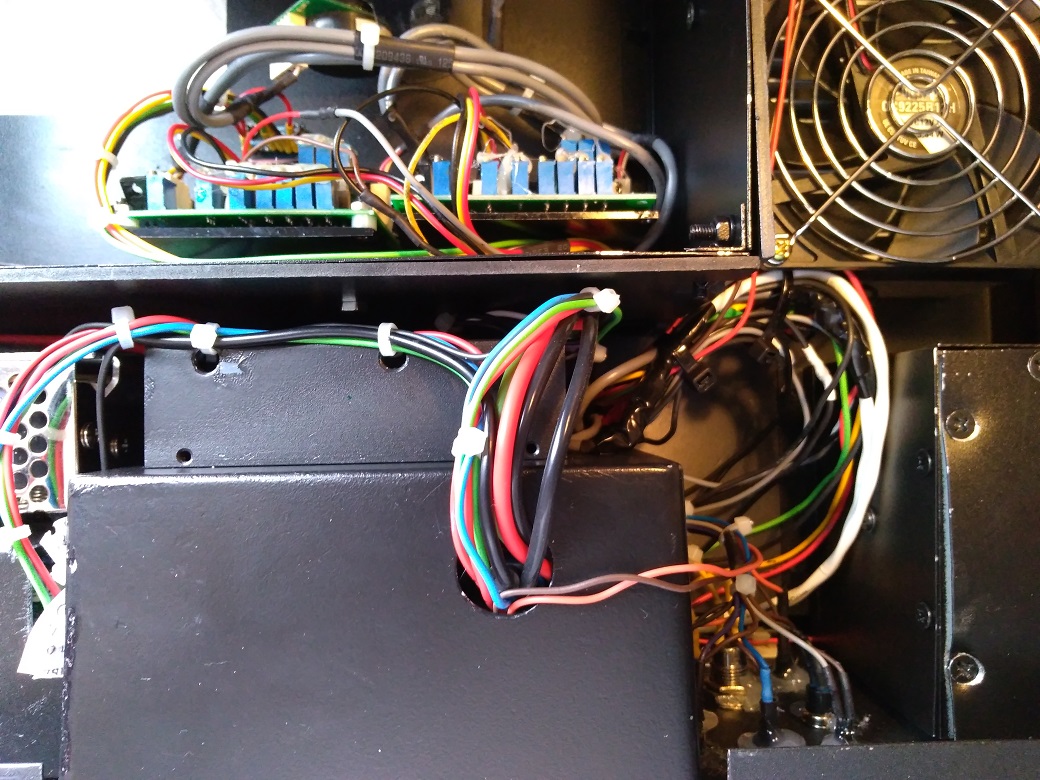
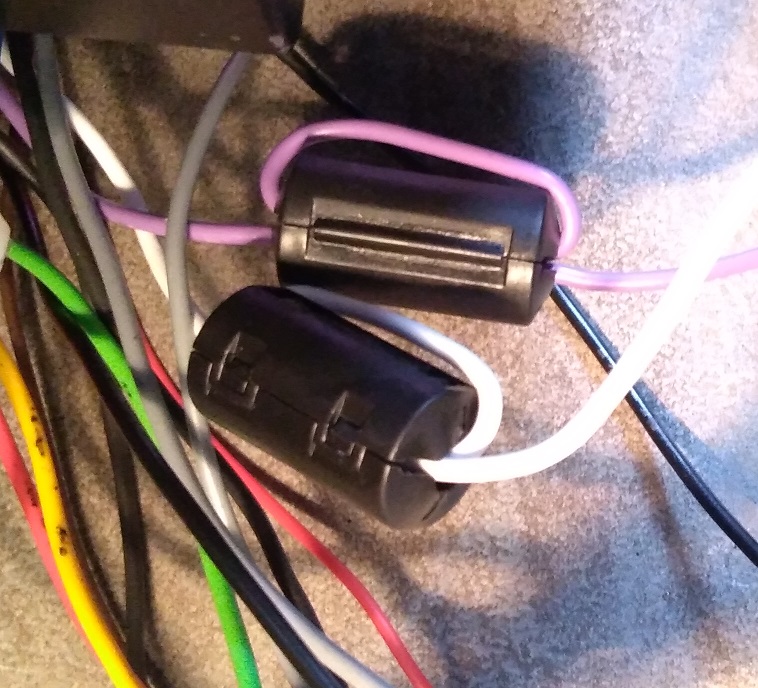 For +/- 24V power supply I loop around a ferrite in order to create an inductor
So we realize a low pass filter just before entering the CPU
Pour l’alimentation +/-24V je fais une boucle autour d’une ferrite dans le but de créer une inductance
Alors on réalise un filtre passe bas juste avant de rentrer dans la CPU
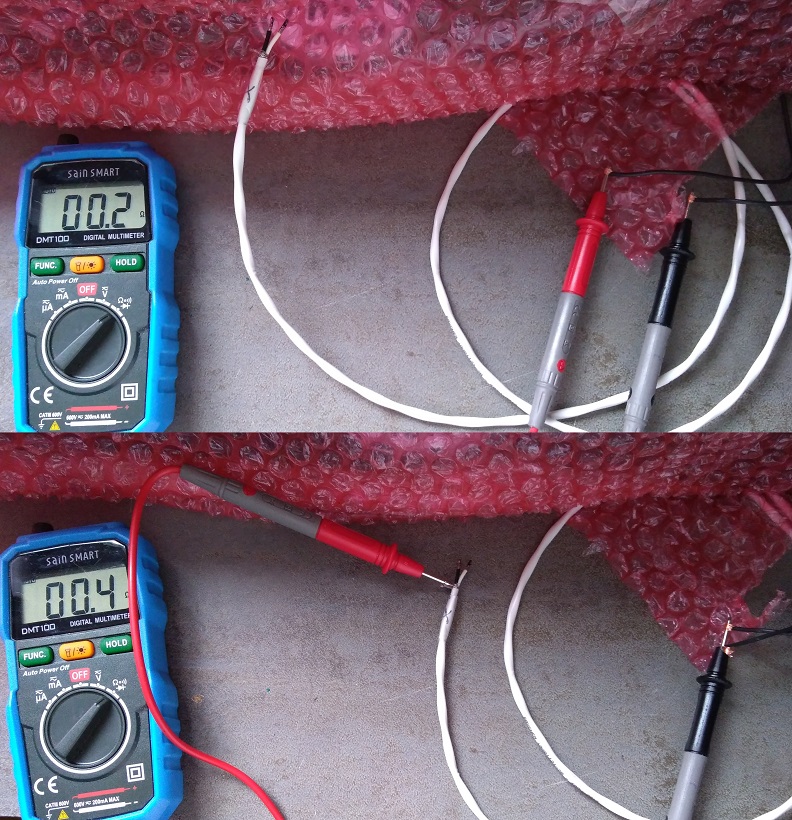 For the X/Y signals I use the ground coming from the CPU
One measure shows that there is a risk of ground loop using the one coming from the ILDA buffer PCB
Pour les signaux X/Y j’utilise la masse venant de la CPU
Une mesure montre qu’il y a un risque de boucle de masse en utilisant celle venant de la PCB tampon ILDA
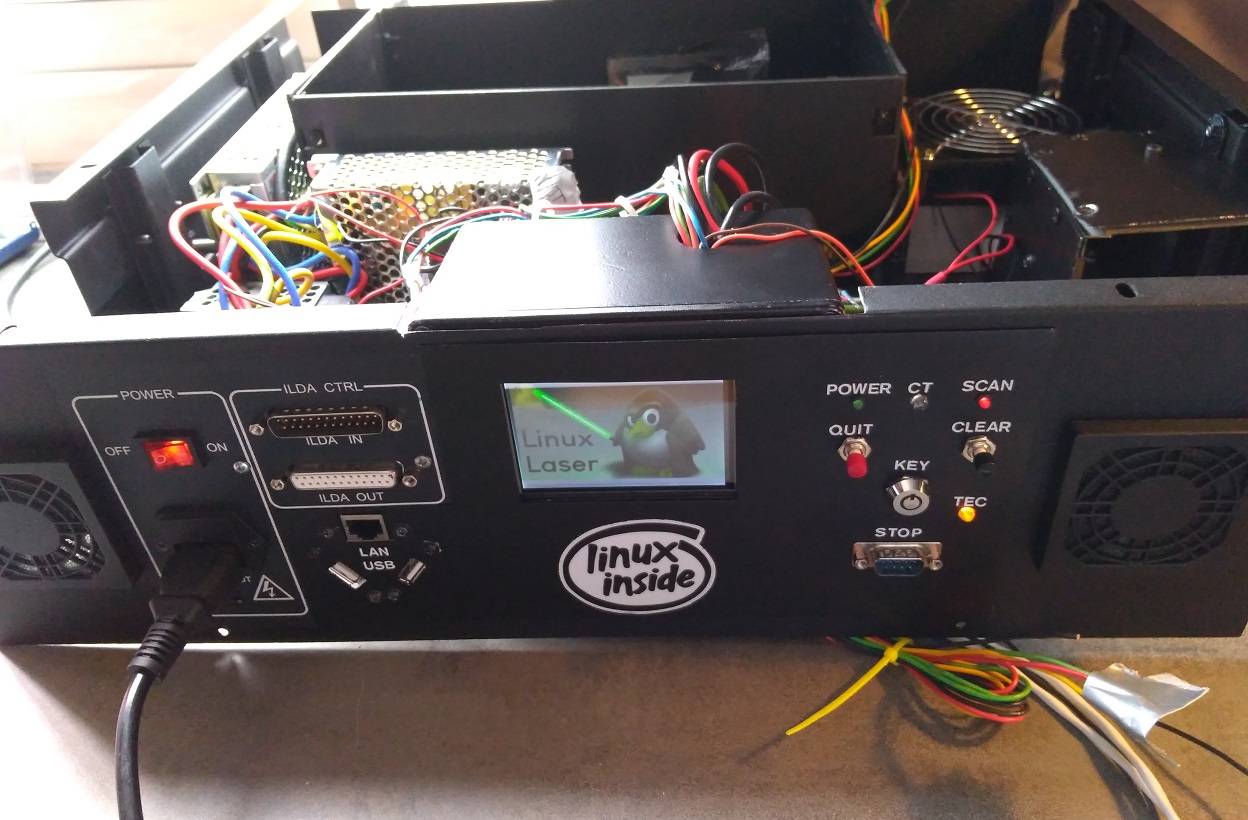 Test the power supplies before closing the back panel and finishing the wiring
Test des alimentations avant de refermer le panneau arrière et de finir le câblage
Placement of Colsons clamps
Mise en place des colliers de serrage
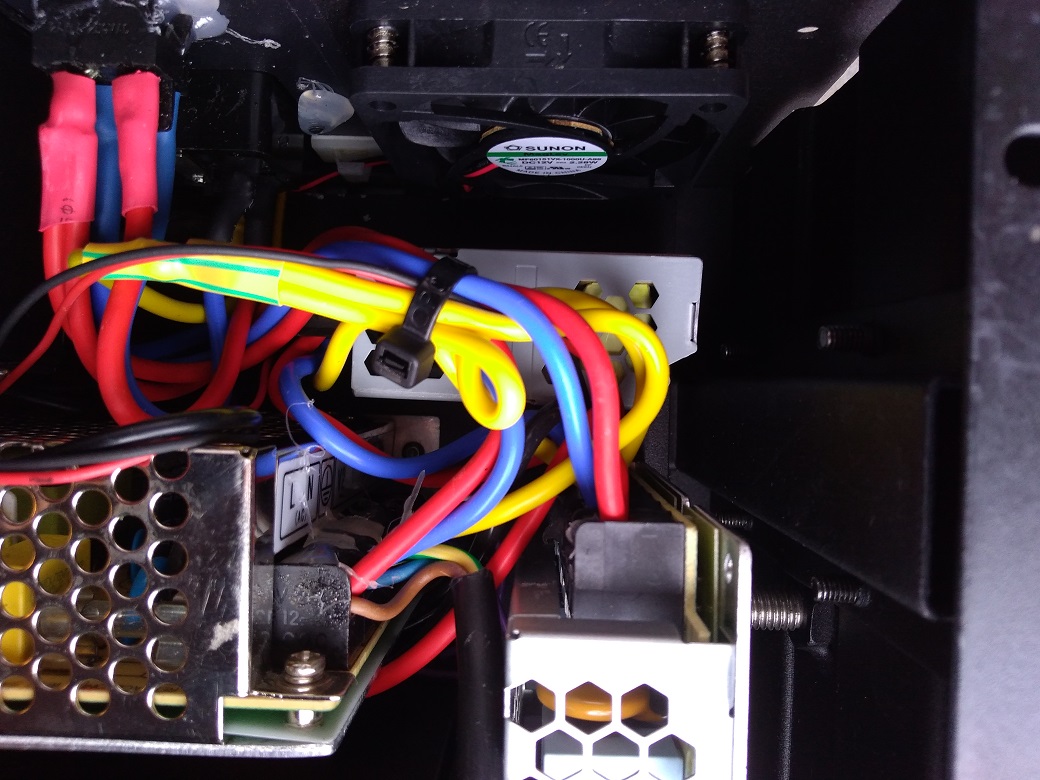
On the side of the power supply also so that the air can come to cool them
Du côté des alimentations aussi pour que l’air puisse entrer pour les refroidir
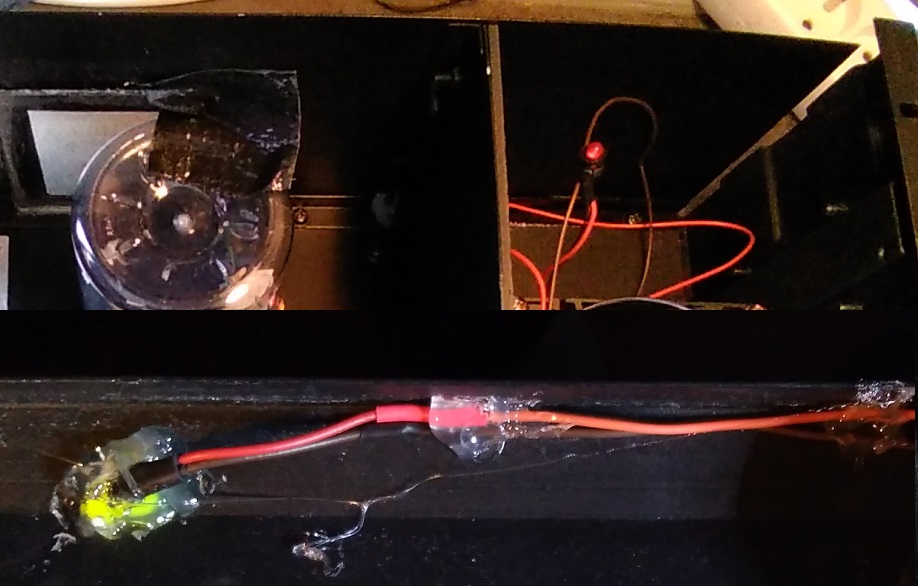 Laser emission LED is attached and held with hot glue
La DEL d’émission laser est fixée et maintenue avec de la colle chaude
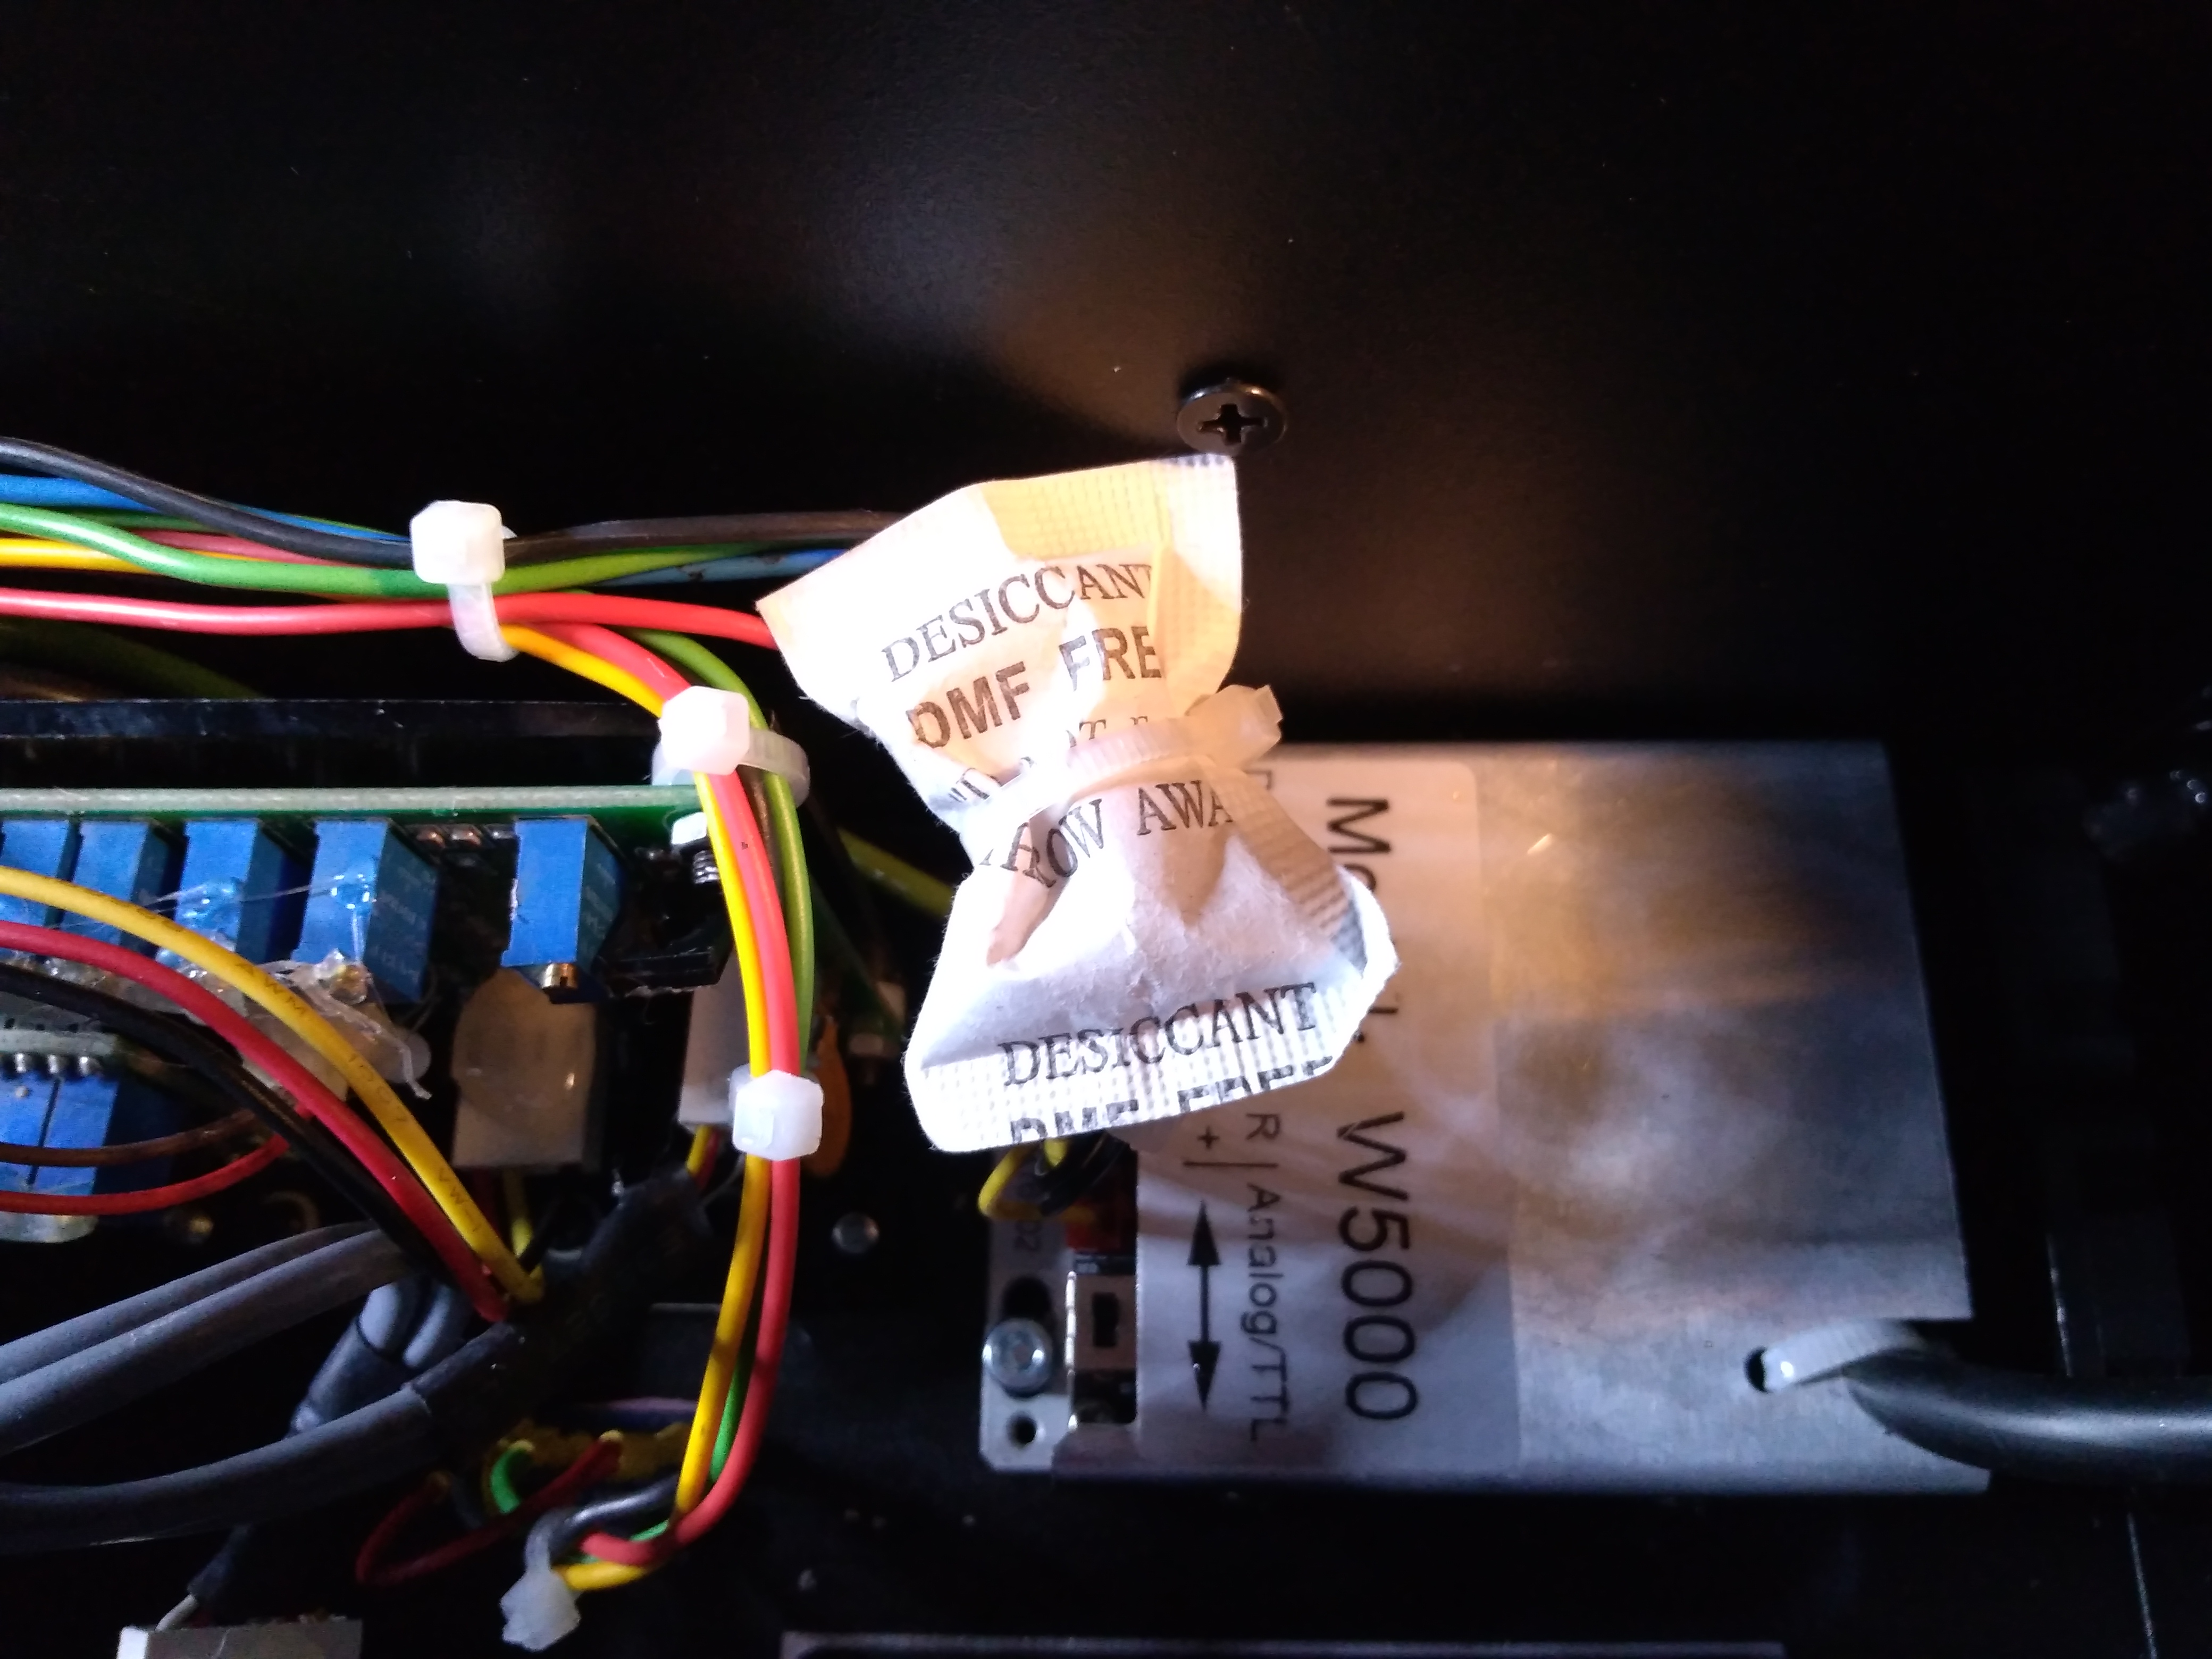
Laser diode and scanners side I place a desiccant bag
Côté diode laser et scanners je place un sachet dessicant
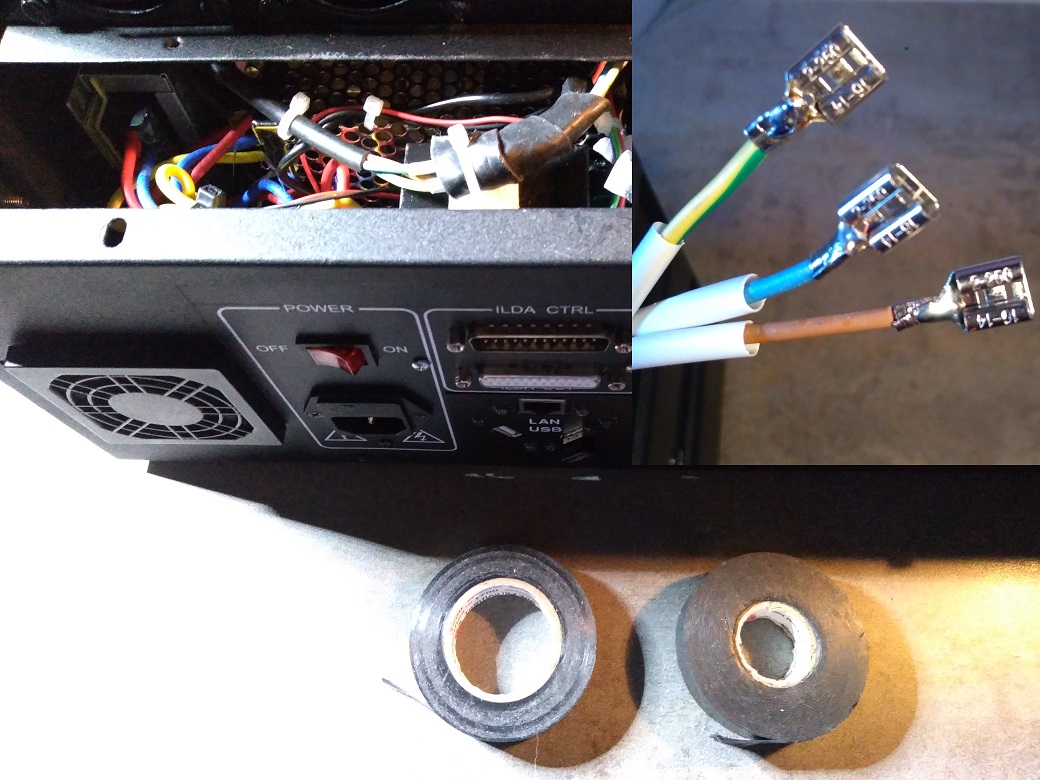 To finish I weld lugs and performs a double isolation of the extractor power supply
Pour finir je soude des cosses et réalise une double isolation de l’alimentation de l’extracteur
Back to summary / Retour au sommaire